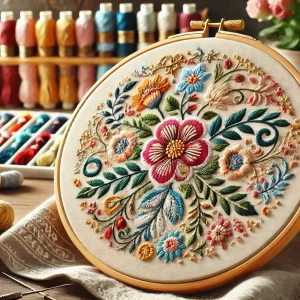
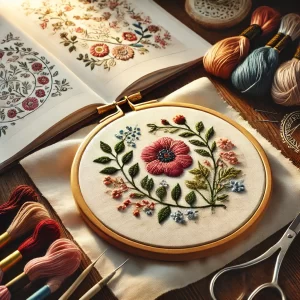
Embroidery machines are fantastic tools for creating intricate designs and patterns on fabric, but to ensure they function at their best, regular maintenance is essential. One often-overlooked aspect of machine care is cleaning the embroidery hoop. A clean hoop not only prolongs the life of your machine but also ensures the quality of your embroidery work. Here’s a step-by-step guide on how to effectively clean your embroidery hoop:
Step 1: Gather Your Supplies
Before you begin cleaning, gather the necessary supplies:
- Mild soap or detergent
- Warm water
- Soft cloth or sponge
- Cotton swabs
- Rubbing alcohol (optional)
- Clean, dry towel
Step 2: Detach the Hoop
If possible, detach the hoop from the embroidery machine. This prevents any electrical components from getting wet and makes cleaning easier.
Step 3: Remove Fabric and Thread
Carefully remove any fabric or thread still attached to the hoop. Ensure there are no loose threads or debris left behind.
Step 4: Inspect for Debris
Inspect the embroidery hoop closely for visible debris, dust, or lint. Pay attention to the inner and outer edges where fabric and thread may accumulate.
Step 5: Brush Away Debris
Using a soft-bristled brush or a clean, dry cloth, gently brush away any loose debris. Avoid using abrasive materials that could scratch or damage the hoop.
Step 6: Clean with Damp Cloth
Dampen a clean, lint-free cloth with warm water and a small amount of mild soap or detergent. Wipe down the entire surface of the hoop, including the inner and outer rings, to remove any remaining dirt or residue. Be cautious around electronic components and connectors.
Step 7: Dry Thoroughly
Use a dry, lint-free cloth to thoroughly dry the hoop. Ensure there is no moisture left behind, especially around connectors and electrical contacts, to prevent potential damage.
Step 8: Optional Electronics Inspection
If visible dirt or debris is present on electronic components, use a can of compressed air to blow away the dust gently. Hold the nozzle at a safe distance to prevent damage.
Step 9: Reassemble and Test
Once the hoop is clean and dry, reassemble it onto the embroidery machine following the manufacturer’s instructions. Before resuming embroidery projects, perform a test run to ensure the machine operates smoothly and the hoop is securely attached.
Step 10: Regular Maintenance
Incorporate regular maintenance into your embroidery routine to prevent excessive buildup of dirt and debris. Clean the hoop after each use or as needed to maintain optimal performance.
By following these simple steps, you can effectively clean your embroidery hoop, ensuring the longevity and performance of your embroidery machine while producing high-quality embroidery work every time.
For more embroidery tips and techniques, visit NiceDigitizing.com!


No comment yet, add your voice below!